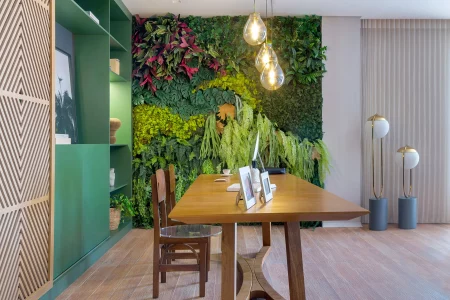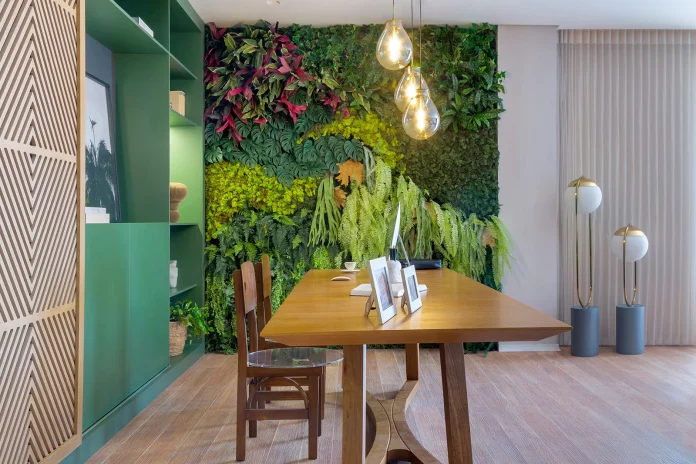
In today’s world where space is at a premium, nature often gets left out of our daily lives. However, that doesn’t mean you can’t enjoy the freshness and beauty that a garden has to offer. If you’re stuck in a compact living space, a vertical garden could be the perfect solution to bring a bit of nature into your home. This article will show you how you can do just that, even in small spaces.
Advantages of a Vertical Garden
Before we dive into the details of how to build one, it’s good to know why a vertical garden is a great idea:
- Takes up less space: Compared to traditional gardens, vertical gardens take up much less horizontal space.
- Improves Air Quality: Plants act as natural air purifiers, improving the quality of the indoor environment.
- Aesthetics: A vertical garden can be a living work of art, adding color and vitality to your space.
- Low Maintenance: Once assembled, a vertical garden generally requires less maintenance than a conventional garden.
Planning:
Location Selection:
First, identify the place where you want to install the vertical garden. It could be an empty wall in the living room, a corner of the balcony or even a space in your office.
Plant Selection
For best results, choose plants that adapt well to indoor environments. It is also advisable to choose species that require similar care in terms of light and water. Some good options include succulents, ferns, and ivy.
Materials Needed:
- Vertical structure (can be a lattice, a wooden structure or felt panels)
- Plants and their respective pots or planting bags
- Substrate
- Irrigation system (optional)
- Basic tools such as hammer, nails, pruning shears, etc.
Assembly
Step 1: Prepare the Structure
First, prepare the vertical structure, which can be made from a variety of materials, including metal trellises or wooden frames. Then, make sure that it is sturdy enough to support not only the weight of the plants, but also the substrate in which they will be planted.
Step 2: Installation
First, secure the structure to the wall of your choice using screws and wall plugs that are suitable for the task. After doing this, if you are using a trellis as a structure, take extra care to ensure that it is level. Finally, ensure that the entire structure is firmly fixed to avoid any future problems.
Step 3: Preparing the Pots
Then, place the substrate in the pots or planting bags and insert the chosen plants.
Step 4: Position the Plants
Begin positioning your pots or planting bags on the frame. Remember to consider each plant’s light and water needs when deciding where to place them.
Step 5: Irrigation System
Although optional, a drip irrigation system can simplify maintenance. This is especially useful if you have a lot of plants or if your garden is in a hard-to-reach location.
Maintenance
- Watering: Make sure the plants receive the appropriate amount of water, which varies depending on the species.
- Light: Ensure that the plants receive sufficient light; if necessary, use artificial lights.
- Pruning and Cleaning: Remove dead leaves and prune plants as needed to keep them healthy.
- Nutrition: Add appropriate fertilizers to keep the soil rich in nutrients.
Not only is a vertical garden a practical solution for small spaces, it’s also a charming way to add a touch of nature to your indoor space. With the right planning and care, you can create a spectacular vertical garden that will be both a talking point and a peaceful retreat in your living space.
